
PROJECT HANDOVER · ARCADIA · SAN GABRIEL VALLEY
Remodel Punch List & Handover
Review the details, assign remaining actions and keep a clear record of your completed remodel.
THE FINISHING DETAILS
A clear record for the final walkthrough.
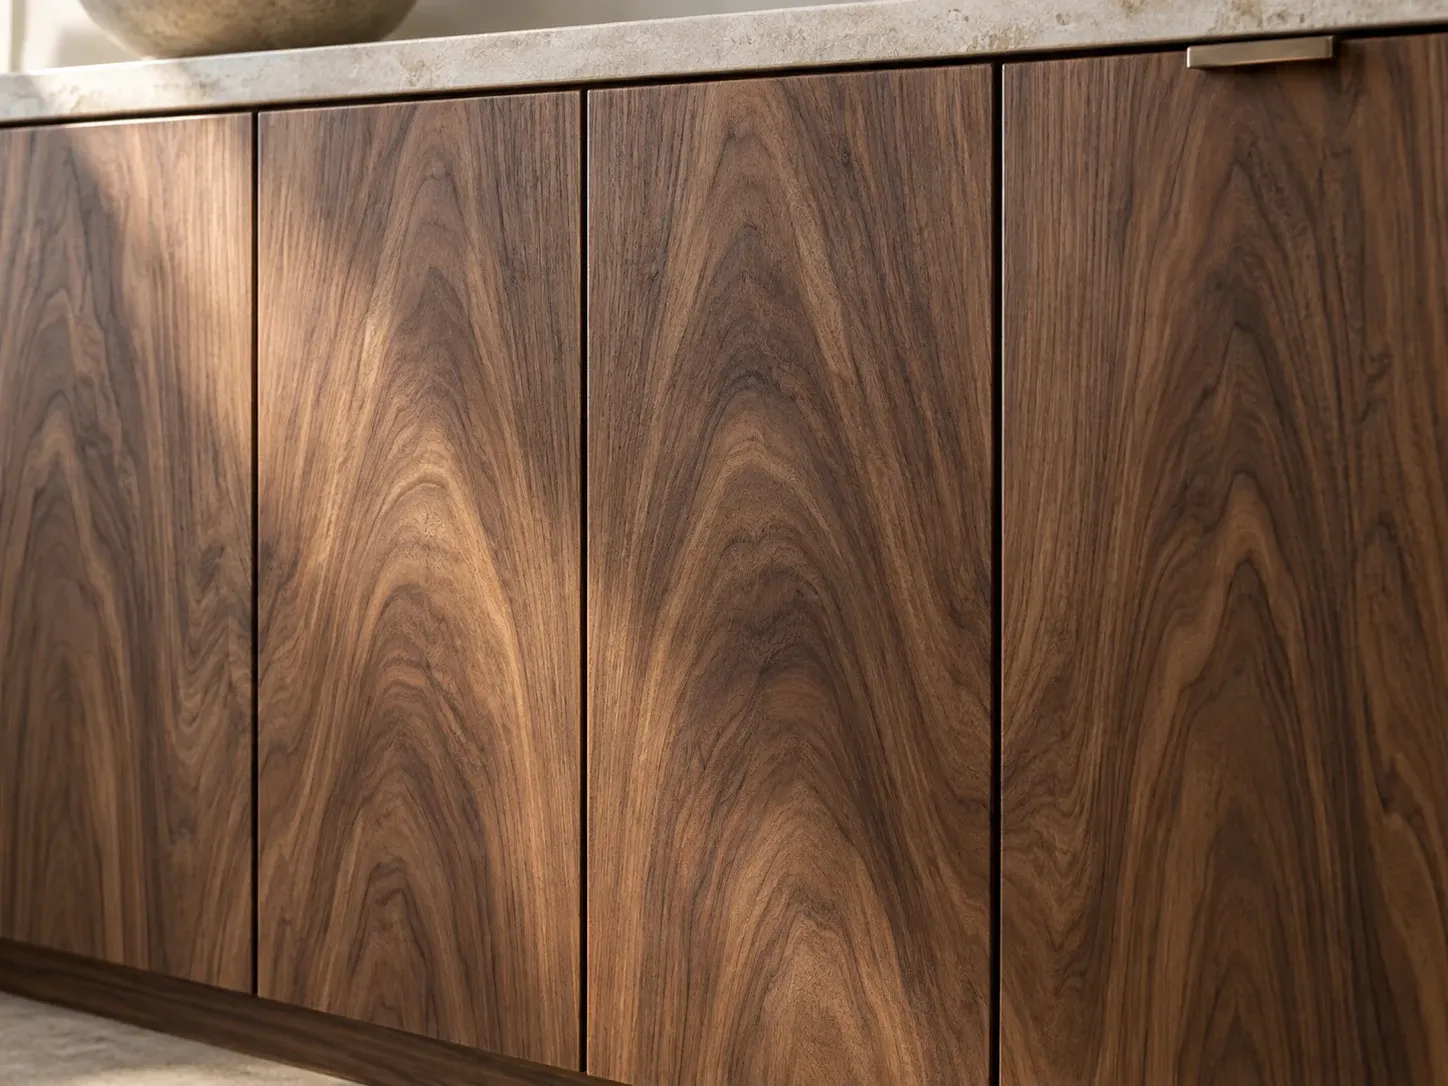
A remodel can look complete while a few details still need attention: a drawer that catches, a missing handle or a finish touch-up beside a doorway. A remodel punch list turns those observations into a shared record of what remains, who will address it and how completion will be confirmed.
For Arcadia and San Gabriel Valley homeowners, planning that review before construction starts makes the final handover easier to organize. It is especially helpful when custom products and site installation involve different teams, or when you manage the property from overseas.
STEP 01
Agree what the handover review covers
Start with the written scope, approved selections and any agreed changes. Use them to distinguish unfinished work from a new request. Adding an extra shelf after installation, for example, is different from recording a shelf included in the approved order that has not arrived.
Ask who will attend the walkthrough, when it will happen and how the list will be shared. KWA Home’s six-stage project process includes installation, a review of remaining items and handover documentation. Confirm the arrangements for your particular agreement rather than assuming a standard checklist covers every room.
STEP 02
Review each room in a consistent order
Walk through one room at a time, starting at its entrance and working around the space. Review visible finishes, trim transitions, handles, accessories and the products included in the scope. Ask the installer to demonstrate cabinet doors, drawers and fitted components, and note anything that needs adjustment.
Compare visible materials with the approved specifications and sample references. Describe the location precisely: “kitchen, island drawer nearest the dining area” is more useful than “drawer problem.” Take an overview photo and a close-up with the same item number. Questions about concealed work, technical performance or possible safety concerns should go to the responsible contractor or qualified professional.
STEP 03
Give every open item a clear owner
Keep one shared list with an item number, room, observation, photo reference, responsible contact, agreed next action and target review date. Separate an item awaiting assessment from one with an agreed remedy; a photo alone does not establish the cause or the appropriate repair.
For example: “Item 07; kitchen island; drawer catches when closing; photos 07A and 07B; installation contact to inspect; follow-up date to be agreed.” Record the agreed outcome after the inspection. This keeps a request for investigation from becoming an unsupported promise about replacement or timing.
Where supply and installation are separate, identify the contact who will coordinate between them. The materials and custom furnishings overview explains the connection between approved specifications, production and site fitting. The order and installation agreement should establish which team handles each part.
STEP 04
Track completion separately from inspections
A finish walkthrough and the project’s inspection records answer different questions. Ask the responsible contractor which inspections, approvals and closeout records apply, and what remains outstanding. A room looking finished does not by itself establish that all required project steps are complete.
For the punch list, agree how each item will be checked: an in-person revisit, a demonstration or suitable photos where appropriate. Keep unresolved observations visible until the agreed review has taken place. New requests should be recorded separately so they do not obscure completion of the original scope. The remodeling service overview provides context for the sequence from site preparation to installation and final adjustments.
STEP 05
Collect documents you can use later
Request the product and finish information relevant to the work, care instructions, applicable warranty terms and the correct aftercare contact. Keep approved drawings and changes with the handover record, together with inspection documentation where applicable. Ask which documents are available and when any remaining records will be supplied.
Product coverage and construction responsibilities may be documented separately. Confirm the terms for the actual order and project, including the process for reporting an issue. Do not infer replacement availability, free service or a completion deadline from general marketing language.
STEP 06
Make remote handover practical
If you are overseas, nominate a local representative and agree what they can review or approve on your behalf. Arrange a room-by-room video walkthrough, using the same item numbers as the shared list. Request close-ups and a demonstration when movement or operation is the issue; a wide-angle room photo will not answer every question.
Finish with a written summary of completed items, remaining actions, responsible contacts and the next review date. The useful outcome is a clear record that the homeowner, contractor and supplier can all follow.